If you are new to this blog . . .

If you are new to this blog you may want to check out the post on putting together a food storage meal plan so you can better understand how this blog is organized.

Thursday, April 28, 2011

Storable Lunch - Nachos


This is by far my family's favorite "fast food" food storage meal. It is so quick and easy, uses powdered milk, and is much more healthy than any canned cheese version you can buy. Cheese freezes so well that you can easily have 3 months worth on hand.

It all begins with my famous white sauce mix.

Whisk together white sauce mix and hot tap water.


Stir constantly while cooking until it begins to boil and thicken.

Add remaining ingredients. To rehydrate the onion, put it in a small bowl with a little water and heat in the microwave for 30 seconds. Do this before you begin cooking the meal since you have to be stirring the white sauce mix and you won't have a free hand.

This is a motion shot when I am stirring in the cheese. You really can play with the flavors of cheese that you add. If you like a spicy cheese, use pepper jack or stir in a little hot sauce. We go for the mild version most often at our house since that is what the kids prefer.


Continue to stir over the heat until it is the thickness you desire. It usually takes 1-2 minutes of boiling time to thicken up.

This is still a little too thin.

Serve over chips and top with your favorite nacho toppings. It is also delicious over broccoli or as a dip for bread. The leftovers will thicken quite a bit in the fridge. Just add a bit of milk, heat up, and mix for another round another day.

Nachos

5 Tbsp white sauce mix
1 tsp Worcestershire sauce
1 cup hot water
1 cup cheddar cheese, grated
⅛ tsp pepper
½ cup Mozzarella cheese, grated
1 tsp dried, minced onion reconstituted


In a saucepan, whisk white sauce mix and water together and cook until smooth. As sauce begins to thicken, add remaining ingredients. Serve over tortilla chips. Top with chili, spiced hamburger, sliced black olives, salsa, etc. You can use pepper jack cheese for a more spicy sauce.

Monday, April 25, 2011

Storable lunch - Chicken Nuggets

As you begin to think about your food storage in actual meals, some are quite simple.  For example, today for lunch I made my three preschoolers chicken nuggets, green peas, and mashed potatoes.
The chicken nuggets and peas came from the freezer and the mashed potatoes were made using the potato pearls available from the LDS cannery.  I just added hot water.  The kids were elated - it is one of their favorite lunches.  I was happy because it was simple and I can easily store the ingredients to make it again and again.

One of my kids' very favorite lunches.
Many other options are open to you when you allow yourself to store items in the freezer.  Remember that the counsel is to store items that you eat on a normal basis.  These are part of the normal lunch rotation so I just make sure I store enough to make it once a week for 12 weeks.

Saturday, April 23, 2011

Sunday Will Come

On this Easter Weekend, I find myself reflecting on the life and mission of our Savior, Jesus Christ. Every year at this time, I join all the other Christians in the world as I remember the horrible events that led up to the glorious resurrection of the Son of God. I am reminded of an amazing talk given by Joesph B. Wirthlin in the October 2006 General Conference of the Church of Jesus Christ of Latter-day Saints. He had recently lost his wife of 65 years. He took time in his talk to reflect on the joys of this life and also the sorrows we face. He then talked of the Savior and of his death and resurrection. He assured each of us that "Sunday will come." Just as the resurrection morning followed the darkest few days in mortal history, when we are facing challenges, we can be confident that "Sunday will come."


I have copied a little of the talk here. Enjoy!


The Resurrection is at the core of our beliefs as Christians. Without it, our faith is meaningless. The Apostle Paul said, “If Christ be not risen, then is our preaching vain, and [our] faith is also vain.”
In all the history of the world there have been many great and wise souls, many of whom claimed special knowledge of God. But when the Savior rose from the tomb, He did something no one had ever done. He did something no one else could do. He broke the bonds of death, not only for Himself but for all who have ever lived—the just and the unjust.
When Christ rose from the grave, becoming the firstfruits of the Resurrection, He made that gift available to all. And with that sublime act, He softened the devastating, consuming sorrow that gnaws at the souls of those who have lost precious loved ones.
I think of how dark that Friday was when Christ was lifted up on the cross.
On that terrible Friday the earth shook and grew dark. Frightful storms lashed at the earth.
Those evil men who sought His life rejoiced. Now that Jesus was no more, surely those who followed Him would disperse. On that day they stood triumphant.
On that day the veil of the temple was rent in twain.
Mary Magdalene and Mary, the mother of Jesus, were both overcome with grief and despair. The superb man they had loved and honored hung lifeless upon the cross.
On that Friday the Apostles were devastated. Jesus, their Savior—the man who had walked on water and raised the dead—was Himself at the mercy of wicked men. They watched helplessly as He was overcome by His enemies.
On that Friday the Savior of mankind was humiliated and bruised, abused and reviled.
It was a Friday filled with devastating, consuming sorrow that gnawed at the souls of those who loved and honored the Son of God.
I think that of all the days since the beginning of this world’s history, that Friday was the darkest.
But the doom of that day did not endure.
The despair did not linger because on Sunday, the resurrected Lord burst the bonds of death. He ascended from the grave and appeared gloriously triumphant as the Savior of all mankind.
And in an instant the eyes that had been filled with ever-flowing tears dried. The lips that had whispered prayers of distress and grief now filled the air with wondrous praise, for Jesus the Christ, the Son of the living God, stood before them as the firstfruits of the Resurrection, the proof that death is merely the beginning of a new and wondrous existence.
Each of us will have our own Fridays—those days when the universe itself seems shattered and the shards of our world lie littered about us in pieces. We all will experience those broken times when it seems we can never be put together again. We will all have our Fridays.
But I testify to you in the name of the One who conquered death—Sunday will come. In the darkness of our sorrow, Sunday will come.
No matter our desperation, no matter our grief, Sunday will come. In this life or the next, Sunday will come.


Joseph B. Wirthlin, “Sunday Will Come,” Ensign, Nov 2006, 28–30

Friday, April 22, 2011

Easter Nests

These are so simple and add fun to any Easter event!


Just make your traditional rice crispie treat recipe substituting cornflakes for the rice crispies. I used 3 Tbsp butter (you can use a dairy-free substitute), 16 oz. of marshmallows and 9 cups of cornflakes. I also added a little green food coloring for fun. You can easily leave it out and they still look like nests. How many of you have ever made rice crispie treats and had then turn out so hard that you couldn't even chew them? I'm sure we all have. The trick is patience. Don't melt the butter and marshmallows over too hot of a heat or when the mixture cools it will be like hard candy. Use low to medium heat and just be patient.


Spray your hands with oil so you won't stick too badly.

Once the mixture cools enough to handle, shape into nests and place in muffin tins to cool completely. This will help them keep their shape. I was able to get 24 nests out of this recipe. If the mixture in the pan cools too much while you are shaping the nests, put it back on the heat just long enough to get it unstuck from the pan.

Place egg-like candies or jelly beans into each nest. 

This is a great activity for kids of all ages to help with. Be careful - you'll have them all fighting over who gets to lick the wooden spoon.

Wednesday, April 20, 2011

Chocolate Dipped Easter Eggs


Every holiday has "traditional" foods or treats that you wouldn't want to go without. Think ahead about these dishes so you can have the ingredients on-hand as part of your 3-month storage. In the early Fall, I think ahead about Thanksgiving and Christmas. After Christmas, I think through to Valentines Day and Easter. I also think about Birthdays and make sure we are ready for those as well. You get the idea - These dipped Easter Eggs are a favorite at our house and at the Easter Egg Hunt with the extended family. They are a little time intensive, but I stretch it out over a few days so it doesn't seem so bad. I make the fillings one day and then shape them and store them covered in our extra fridge. Then we dip them a little at a time over the week ahead of Easter.

Here's the coconut cream eggs.

Here's the chocolate and peanut butter eggs all formed and ready to chill.

To dip, stab a toothpick into each egg and dip in melted chocolate. Use an additional toothpick to help you transfer it to your tray and remove the first toothpick.

Add sprinkles while the chocolate is still soft. You can also drizzle with colored chocolate instead of using the sprinkles. I use different sprinkles for the different fillings so we can tell them apart.

They look so festive and fun! Believe it or not - everything is storable for at least 3 months.


Using a hand mixer speeds up the process when you are making the fillings.

Coconut Cream Filling
4 oz cream cheese, softened
1/4 cup butter
1 1/2 tsp vanilla
4 cups powdered sugar
1 1/2 cups coconut
1-2 cups additional coconut -add at the end

Mix filling ingredients. Knead additional coconut in at the end until it is as full of coconut as you like. I like it heavy on the coconut. Shape into eggs and place on waxed paper. Refrigerate for 1-2 hours until hardened. Makes 36 small eggs.

Chocolate Filling
1 small pkg instant chocolate pudding
1/3 cup boiling water
1/3 cup butter
3 cups powdered sugar

Stir together pudding mix, boiling water and butter until butter is melted and mixture is smooth. Stir in powdered sugar. Refrigerate mixture until firm enough to mold into egg shapes. Shape into eggs and place on waxed paper. Refrigerate for 1-2 hours until hardened. Makes about 24 small eggs.

Peanut Butter Filling
1 cup peanut butter
6 Tbsp butter
2 cups powdered sugar

Mix peanut butter, butter, and powdered sugar together until creamy. Form into small eggs and place on waxed paper. Refrigerate for 1-2 hours until hardened. Makes 24 small eggs.

Chocolate Coating
5 cups milk chocolate chips
2 Tbsp shortening

Melt chocolate chips with the shortening in the microwave for 2–3 minutes on high, stirring every 20–30 seconds. Dip egg shapes into the chocolate and return to the waxed paper. (This works best if you stab each egg with a toothpick before dipping. Decorate with sprinkles or drizzles of white chocolate. Refrigerate to harden. Melt additional chocolate, if needed.

Sunday, April 17, 2011

Bread Making

Bread is a basic ingredient for many meals. It can become toast or French toast for breakfast and give us endless options for storable lunches and dinners. Cinnamon rolls and maple bars become fast favorites when they are homemade. If there ever comes a time that you need to live off your food storage, you are going to want to know how to make bread. So, find out where your "I can do it!" attitude has been hiding and decide to tackle it this week.


Basic Instructions That Work with All Recipes:

Mix all dry ingredients only adding half of the flour in your mixer bowl.

Add wet ingredients and begin mixing using the dough hook following the suggested speed in your mixer 
instruction book for bread. (Water should be about 115°–120° F to allow the yeast to rise.)


If using a Kitchen-aid mixer, set it on 2 for the entire bread mixing and kneading process

Gradually add additional flour until dough cleans the sides of the bowl. The exact amount of flour you will add will depend on the humidity in the air and whether you are using all whole wheat flour. Be patient as you add the flour. Only add ¼–½ cup at a time and watch to see if the dough pulls together and leaves the sides of the bowl basically clean. Remember that when making bread by hand, you are to knead the dough for 6–8 minutes. The mixer doesn't necessarily do it any faster, it just does the work for you. The mistake that often 
makes bread too heavy is adding too much flour.


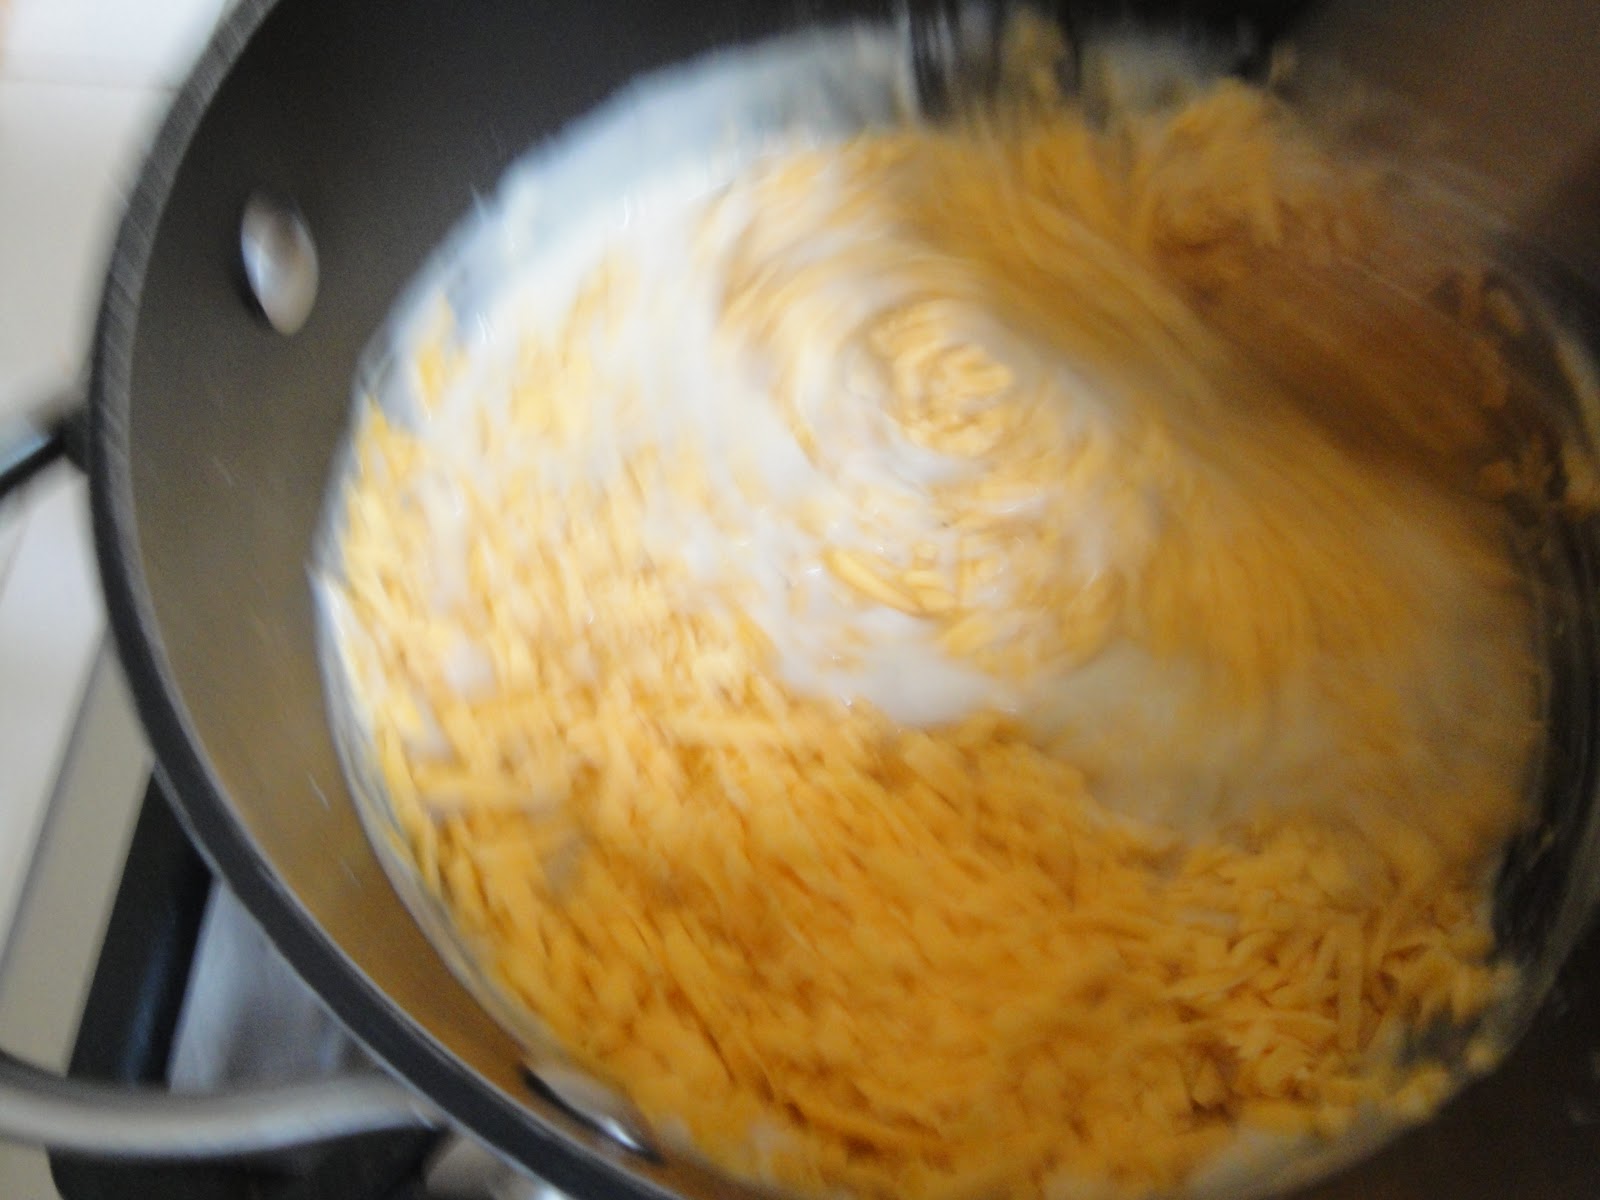
There is not enough flour yet - the sides of the bowl are not clean.
This is good - stop adding flour and allow the mixer to knead 2-3 minutes.

Once the dough is pulling together and leaving the sides of the bowl clean, stop adding flour and just allow the 
mixer to knead the dough until smooth, elastic, and resistant. (About 2–3 minutes.)


Lightly oil top of dough (or spray with cooking spray), cover with a cloth and let rise until double in size. You can speed this step up by turning your oven to 150° F. Once it is hot, turn the oven off and set your bowl of dough into the oven. (If your mixer has a plastic bowl, you will want to transfer the dough to an oven safe bowl first.) On the counter, it usually takes an hour or more to let your dough rise. In the oven, it is double in size in about 20 minutes.

I spray the bowl before removing the bread hook so it can rise without sticking to the sides.

Remove the dough hook and spray the top of the dough as well.

Cover with a towel and allow to rise until doubled in a warm oven or on the counter.

I use the oven method most of the time.

Punch dough down and remove from bowl. (You can allow the dough to rise multiple times. Sometimes you just can't get to it when it's ready. Maybe the turkey is still in the oven or the baby needs to be fed or the phone rings. You know you have days like this. Just keep punching it down each time it is double in size. 
Letting it rise a few times actually makes for a fluffier, lighter texture.) When you punch the dough down, turn the oven on to preheat to the right baking temperature for your recipe.

My kids love to be the ones to punch it down - they always wind up a little before giving it their best punch!
Pour it out on the counter - it should leave your bowl pretty clean.

Shape into loaves or rolls on an oiled countertop and place in greased pans.
I oil the counter tops by just spraying them. You can spread a little oil with your hands if you want to. I love my solid surface counter for bread making, but we had laminate counters at our other homes and they were good to.

Grease your pans using pan spray. I store pan spray in my food storage for bread making. It makes it much more convenient.

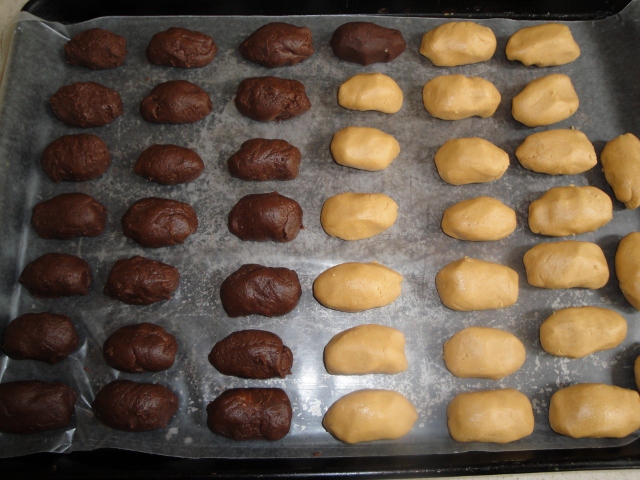
Divide your dough into the number of loaves you will be making.


Make them as even as possible - some people actually weigh them with a kitchen scale. I don't get that technical.

Shape by grabbing and rolling back and forth a little to lengthen it into a loaf shape and round out the top. You want to manhandle the dough a little to get the air out so you don't end up with large bubbles in your bread.


Here's what it looks like on the top.

Place into greased pans.

Spray the tops of the loaves.

Cover with a cloth and let rise until almost double, about 20 minutes.


I like to pop them in the oven when they reach the top of the pans. You can see the my third loaf was a little smaller - I didn't use a scale.

Bake according to specific recipe instructions. Bread is done when it is golden brown and sounds hollow 
when you tap it.

Take bread out of pans when done and cool on a cooling rack. Spread melted butter over the tops of the bread if you want a soft crust.


Take a step back and admire your work - go ahead feel provident today! Homemade bread costs less than $.50 a loaf to make and you can control the ingredients. Find a favorite recipe and make up a few mixes to keep in your pantry to speed up the process another time. Only put half the flour in your mix along with the other dry ingredients and then you are ready to just dump it in your mixer and begin.


I'll post some of my favorite recipes soon.


Making Bread by Hand - you don't have to have a mixer!

Follow the basic instructions as above. You are just going to do the work the mixer usually would. It will take a few times of trying bread to determine just how much flour to add. It is better to add a little less flour than a little too much. Many women who bake bread all the time for their families find that they can do a larger batch by hand than they can do in a mixer so they prefer doing it by hand all the time. Don't let not having a mixer be an excuse not to bake bread!